
Colouring an object in 3D is one of the more complex parts of learning 3D, even when you’re using the best 3D modelling software. It’s not the same as assuming the colour you see on-screen is the object’s colour. Some 3D programs, especially those focused on design or that show a simplified viewport view, will colour an object to make it easier to manipulate and edit, rather than reflecting the material assigned to it.
The first complication to understand is that, in many cases, the colour of the object you see when you render (the term for an output image of what the 3D application sees through the camera) has little to do with the object itself. Instead, it comes from the material applied to the 3D object, something that can behave differently depending on the software you’re using and, occasionally, the hardware running it, including the best laptops for 3D modelling.
As far as the 3D application is concerned, a material is a separate item that can be applied to as many objects as the artist wants. A single change to a material’s colour will apply to every object in the 3D scene that has that material applied. This is powerful and efficient once you get comfortable with your 3D application, but it can leave newcomers puzzled and looking for simpler options.
You may like
I’ll break down these different aspects of materials in later articles, but for now, let’s look at the main ways an object can be coloured in a 3D application.
1. Use a light
With features such as Light Linking in Blender, a light (or multiple lights) can colour an object in a scene. By assigning specific lights to specific objects, you can tint surfaces without changing their materials. However, it can be hard to balance colour with the light’s power, and changes to scene lighting will affect the objects anyway.
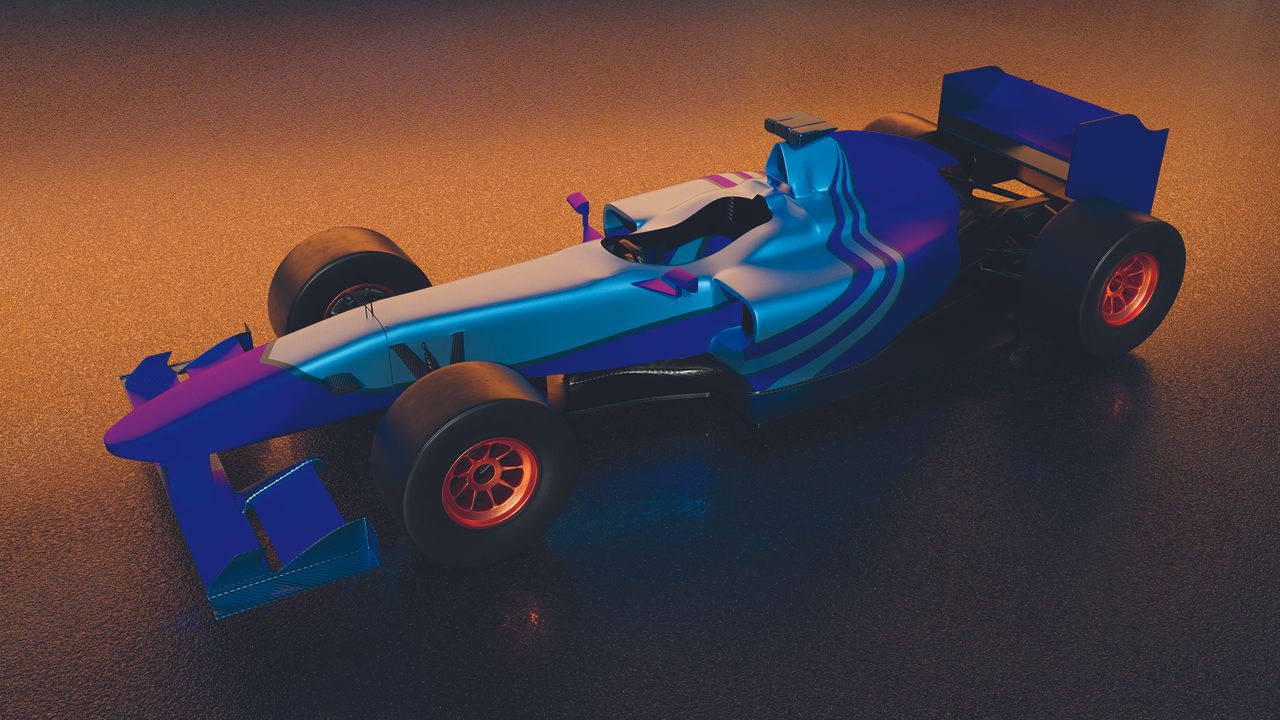
2. Use a material
Applying a material to an object is usually the best way to colour it in a 3D program. Here, a blue colour is set in the material, which is then applied to the object. Materials are separate from the object, so the same material can be shared across multiple objects. Alter the colour once and every object using that material updates automatically.
3. Use an image in a material
While tools can create patterns within materials, these are often 3D-specific. You can use an image to apply colour to a material; these images can also control an object’s opacity and add more detail. Even a simple checker pattern (shown here) becomes a texture that wraps around the object. How the image wraps can be a learning journey in itself.
Get the tech: